When I first started out doing photography I studied B&W film photography and the Zone system by reading all of Ansel Adams books on the subject. Years later I would end up teaching an advanced B&W film photography course at the college where I further grew my understanding of the nuance that film is capable of delivering. Making test exposures and then carefully recording sensitometry readings to determine contrast and tonality brought a lot of pleasure to me at the time.
When digital photography came around I had to study how to make full tone range prints. Log values gave away to halftone percentages. I worked to try to figure out how best to translate Zone exposure values to print density percentages. Over the years I have found my translation to be effective.

What makes the translation difficult is that exposure values end up producing density readings on film that are computed as log values. I think of it as trying to convert a base 2 number to a base 10 number. It was simple to determine that Zone 0 and Zone 10 represented the maximum black and maximum paper brightness values. It was also easy to determine that the Zone 5 middle gray would correspond to a 50% grayscale print value. The next values that would be easy to determine were the first usable print densities that represented the Zone 1 and Zone 9 values. The real challenge was determine the spacing of the Zone 4 and 6 values. To figure it out I graphed a bell curve based upon the end points and the middle gray value. From there I could space out the densities and see where they fell. After making many test I have found these values to work well as an effective migration from film to digital photography.

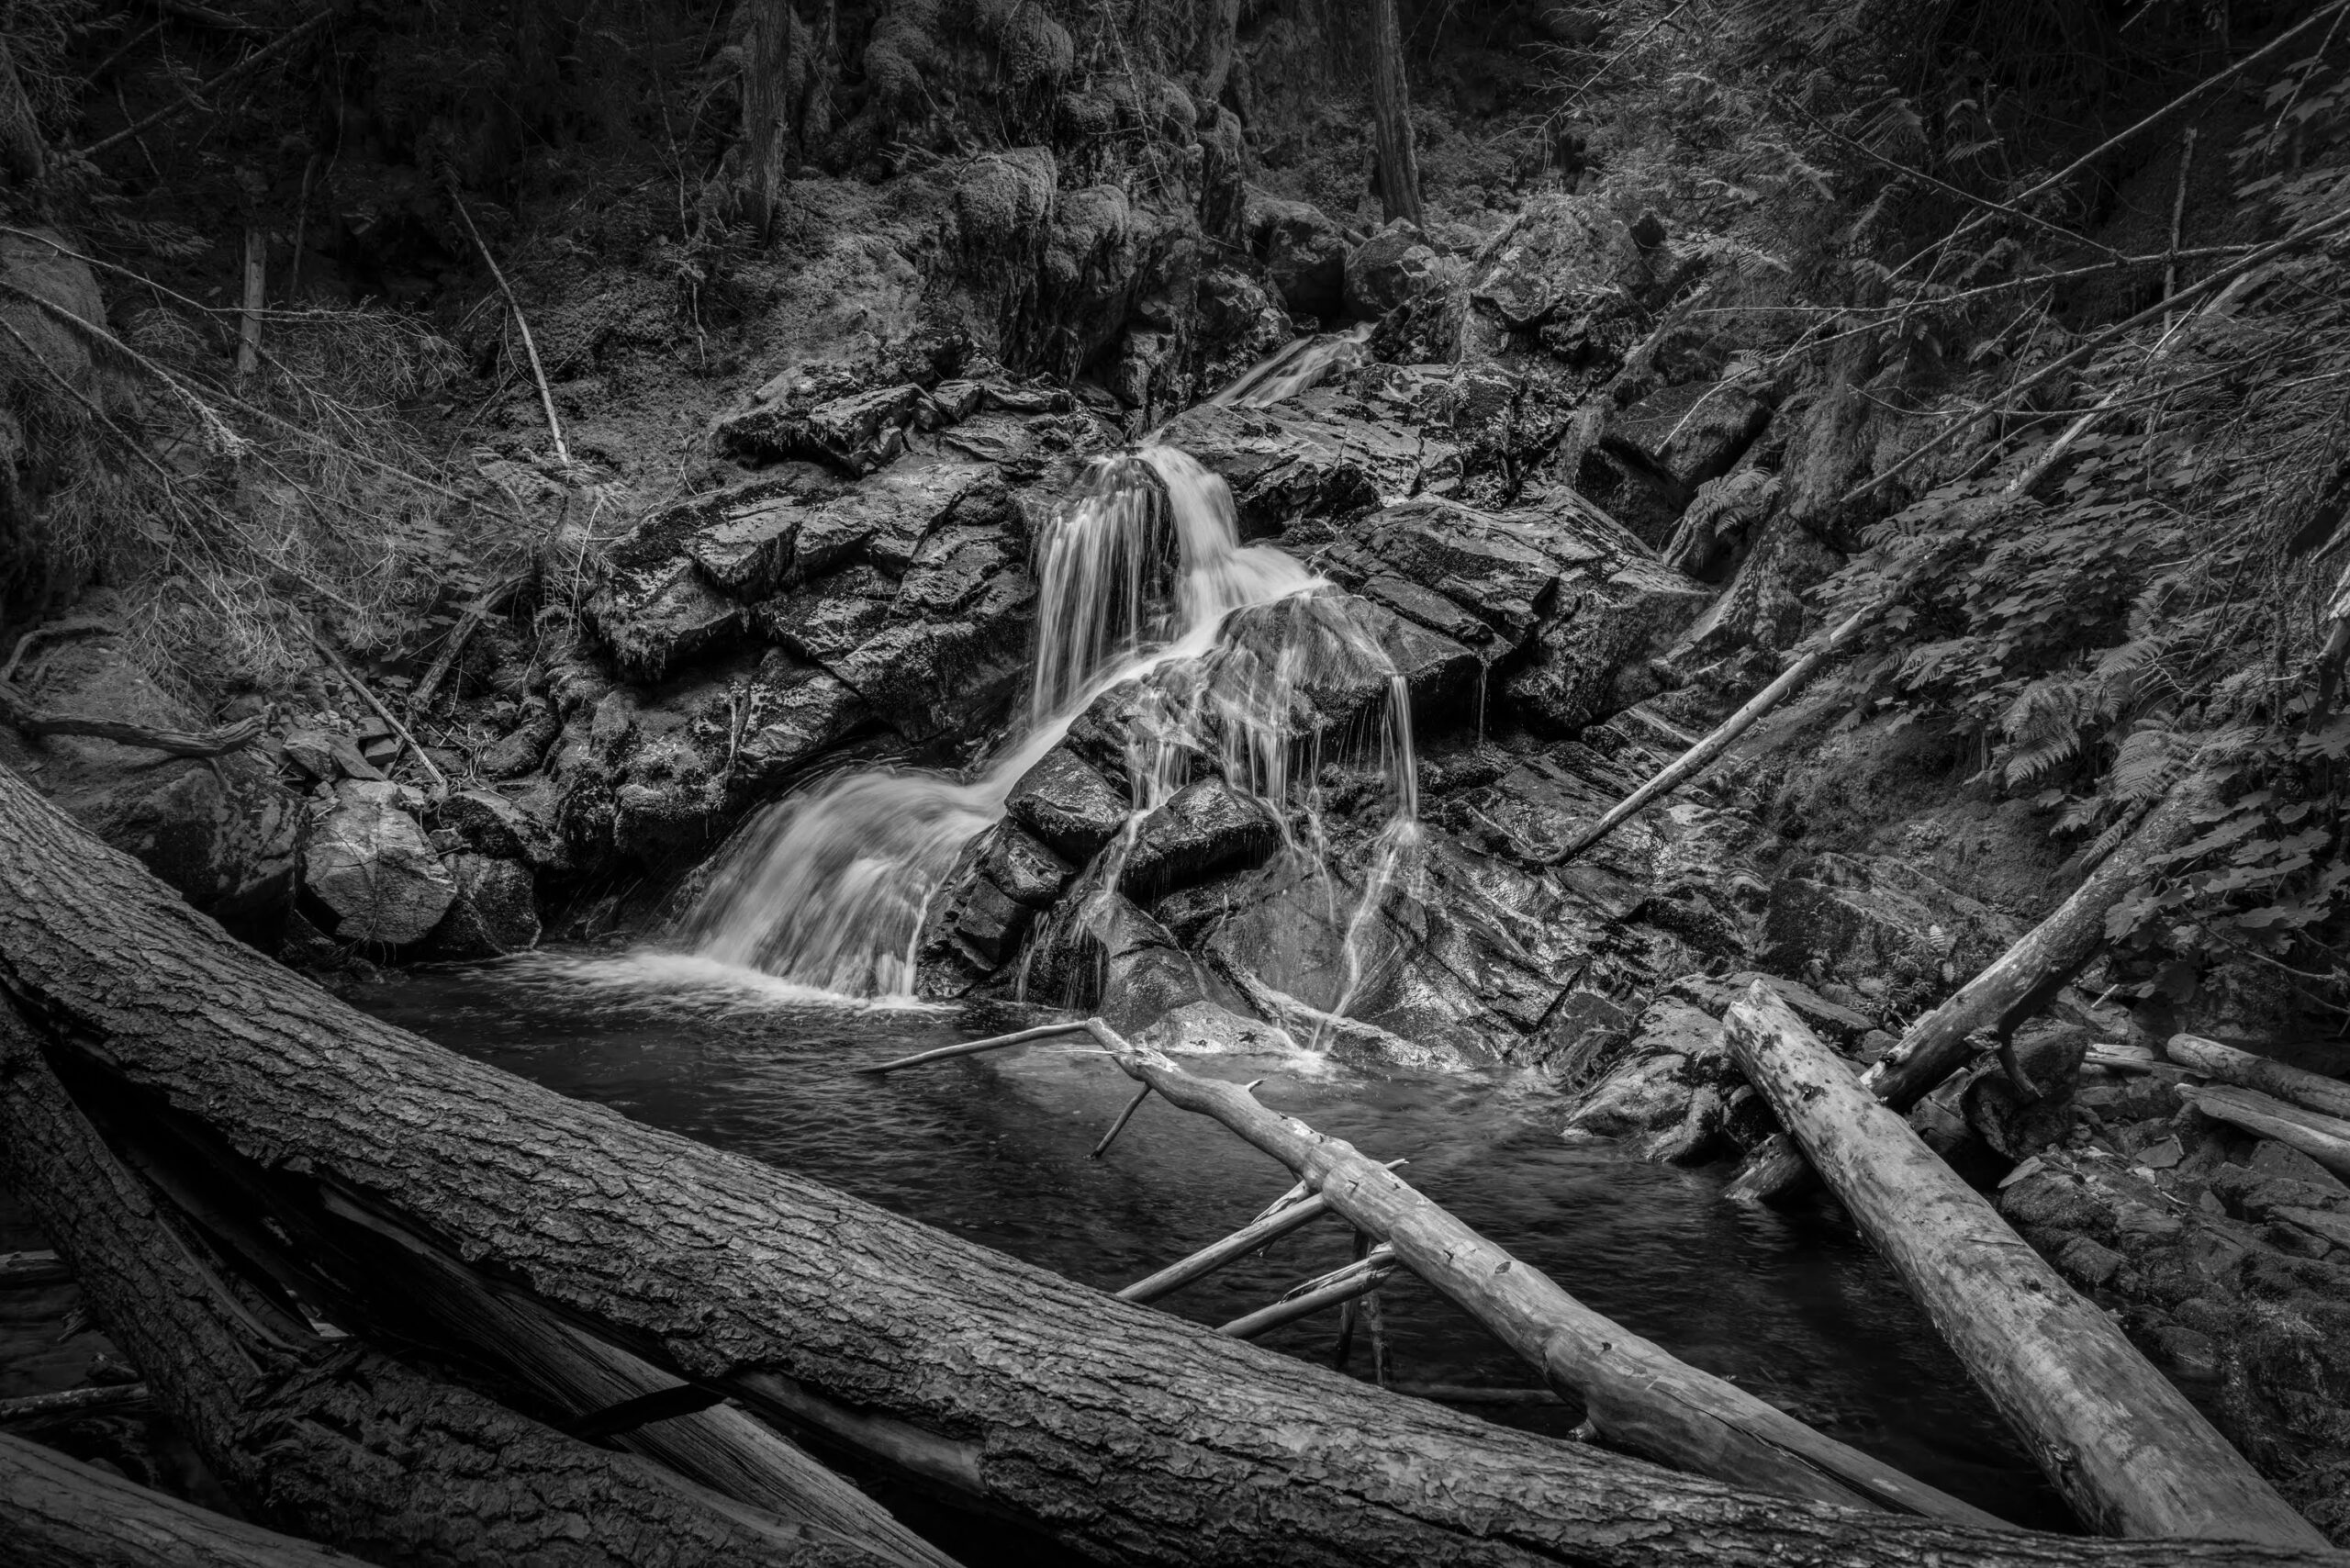
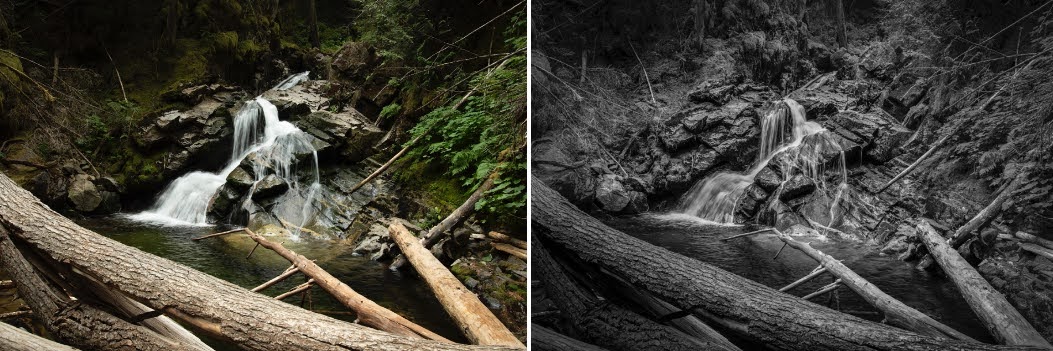
Last week I found myself revisiting the Zone system while giving an image editing demo for my advanced digital photography course. I have been working in digital photography for over 20 years now and I still gain insights with each exploration of the Zone system. One of the facets of film photography I appreciate is the way in which the density range of a negative is altered through the change of exposure and development time. A bright scene can be rendered with a full tone range by over exposing and reducing the development time to reduce overall contrast. Digital photography does not allow for this easily. Digital cameras record a finite amount of data and contrast is limited to working within the range of values captured by a single exposure. Early digital editing software was really crude when it came to brightness and contrast control. Fortunately today’s software allows for much greater subtlety of tone mapping. For this demo I was able to adjust the tone range so that the waterfall fell within a Zone 7 and the textured moss and rock fell within a Zone 3 print value. The brightest green foliage was placed at Zone 5 and the rest was handled with a fairly straight forward burn of the bright log in the foreground.
Memories of watching films of Ansel Adams making prints in his darkroom through the meticulous process of dodging and burning fuel my current attempts at digital photography. I am grateful for having gone through the rigors of film photography in order to now be able to bring life to my digital captured images.

