Communication & Conflict Style
Discover your dominant style and how you handle disagreement.
Key Characteristics:
Your Conflict Strategy
Advice:
Navigating Communication & Conflict
Understanding Yourself and Your Collaborators
Effectively working in a team—especially in creative environments—requires more than just technical skills. It requires understanding where people are coming from.
This guide outlines the four primary “Social Styles” and provides a decoder for handling conflict.
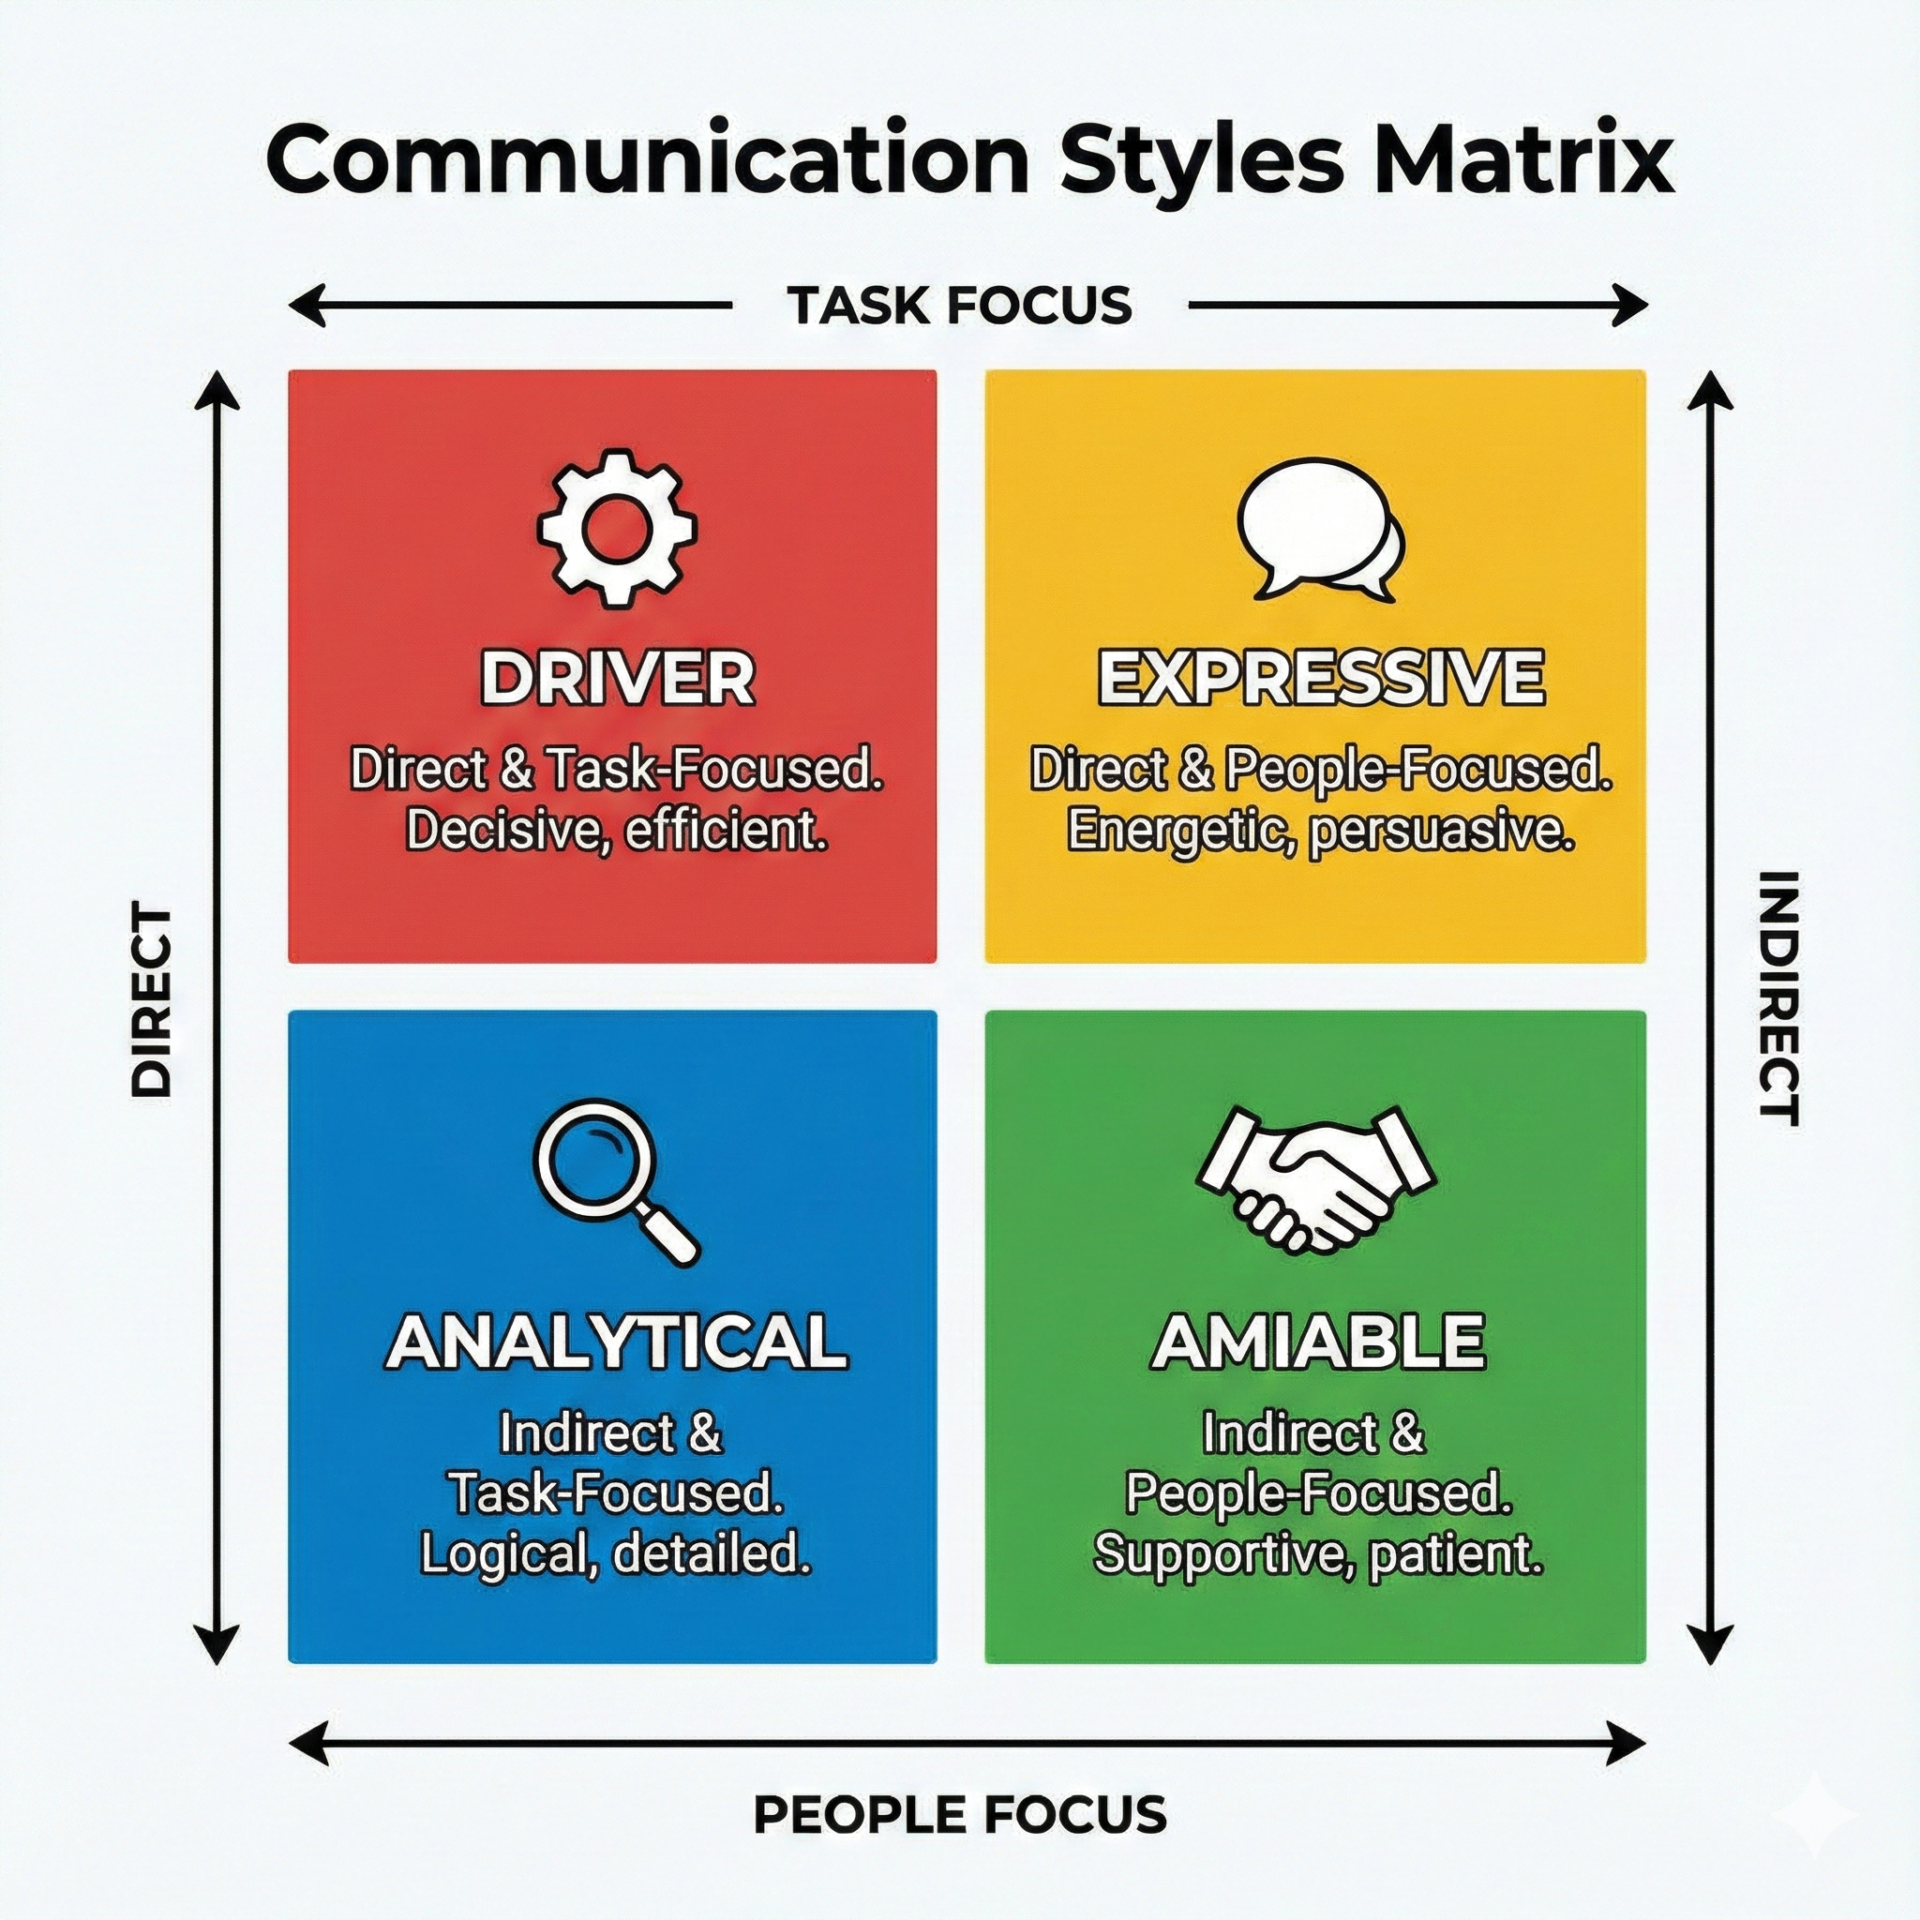
1. The Matrix: How We Differ
All communication styles act along two axes. Where you fall on these determines your dominant style:
- Assertiveness (Ask vs. Tell): Do you tend to ask questions and listen (Ask), or state opinions and direct action (Tell)?
- Responsiveness (Task vs. People): Do you prioritize getting the job done (Task), or how the team feels (People)?
2. The Four Styles & Their Conflict Strategies
🔥 The Driver (Direct & Task-Oriented)
- Motto: “Let’s get it done now.”
- Strengths: Decisive, efficient, pragmatic, keeps the project moving.
- Conflict Style: The Steamroller (Competing).
- When stressed, they become autocratic. They may interrupt, take over, or issue commands to force a resolution quickly.
- Decoding Their Motivation:
- If they are being bossy or aggressive… it is not usually personal. They are terrified of inefficiency or losing control of the outcome.
- What they need: They need to see that you are competent and that progress is being made.
🌟 The Expressive (Direct & People-Oriented)
- Motto: “Let’s do something new and exciting.”
- Strengths: Enthusiastic, persuasive, creative, visionary, energizes the room.
- Conflict Style: The Exploder (Attacking/Venting).
- When stressed, they get personal. They may raise their voice, become sarcastic, or make the issue about “how they feel” rather than the facts.
- Decoding Their Motivation:
- If they are yelling or getting emotional… it is because they feel ignored. Their core fear is rejection or not being heard.
- What they need: They need acknowledgement. They need to know their ideas are valued before they can calm down.
🤝 The Amiable (Indirect & People-Oriented)
- Motto: “Let’s work together comfortably.”
- Strengths: Supportive, patient, good listener, builds strong team cohesion.
- Conflict Style: The Peacekeeper (Acquiescing).
- When stressed, they give in. They will say “yes” to things they disagree with just to stop the fighting. They often harbor silent resentment (passive-aggressive).
- Decoding Their Motivation:
- If they go quiet or agree too quickly… it is because they are afraid of damaging the relationship. They prioritize harmony over being “right.”
- What they need: They need safety. They need assurance that disagreeing won’t ruin the friendship/working relationship.
🔍 The Analytical (Indirect & Task-Oriented)
- Motto: “Let’s get it right.”
- Strengths: Precise, logical, thorough, systematic, catches errors others miss.
- Conflict Style: The Avoider (Withdrawing).
- When stressed, they shut down. They physically or mentally leave the room to avoid emotion. They refuse to make a decision until they have “all the data.”
- Decoding Their Motivation:
- If they stop talking or delay the project… it is because they are afraid of making a mistake or acting irrationally.
- What they need: They need space and facts. Do not pressure them for an immediate emotional response.
3. The “Decoder Ring”: Interpreting Conflict
Use this chart when you are confused by a classmate’s reaction.
| If you see this behavior… | They are likely this Style… | They are acting this way because they fear… | To de-escalate, you should… |
| Taking over, ordering others around | Driver | Failure / Wasting Time | Be brief. Focus on the solution, not the problem. “I see your point on X. Let’s fix it by doing Y.” |
| Becoming emotional, blaming, exaggerating | Expressive | Being Ignored / Rejection | Validate them. “I hear how passionate you are about this idea. Let’s explore that.” |
| Shutting down, “ghosting,” avoiding eye contact | Analytical | Being Wrong / Embarrassment | Give them space. “Let’s take a 10-minute break and come back to look at the details.” |
| Giving in too easily, saying “Whatever you want” | Amiable | Conflict / Loss of Approval | Reassure them. “I value our partnership. It’s okay if we disagree; I want to hear your real thoughts.” |
4. Discussion Questions
- Think of a recent group project. Which conflict style did you use? Did it help or hurt the project?
- How can a “Driver” and an “Amiable” work together without driving each other crazy?
- Why might an “Analytical” person feel overwhelmed by an “Expressive” person’s brainstorming session?
